

How to assemble your Murano chandelier?
Installing a Murano chandelier is very easy. Here is a step-by-step guide showing you how to safely install your new Murano chandelier from Italy.
1. Check the ceiling mount
Murano lamps are heavy, so it is important to use a sturdy hook on the ceiling.
- Make sure the hook can withstand the weight of the lamp.
- Make sure the mount is stable and secure before beginning assembly.
2. Assembly of simple frame
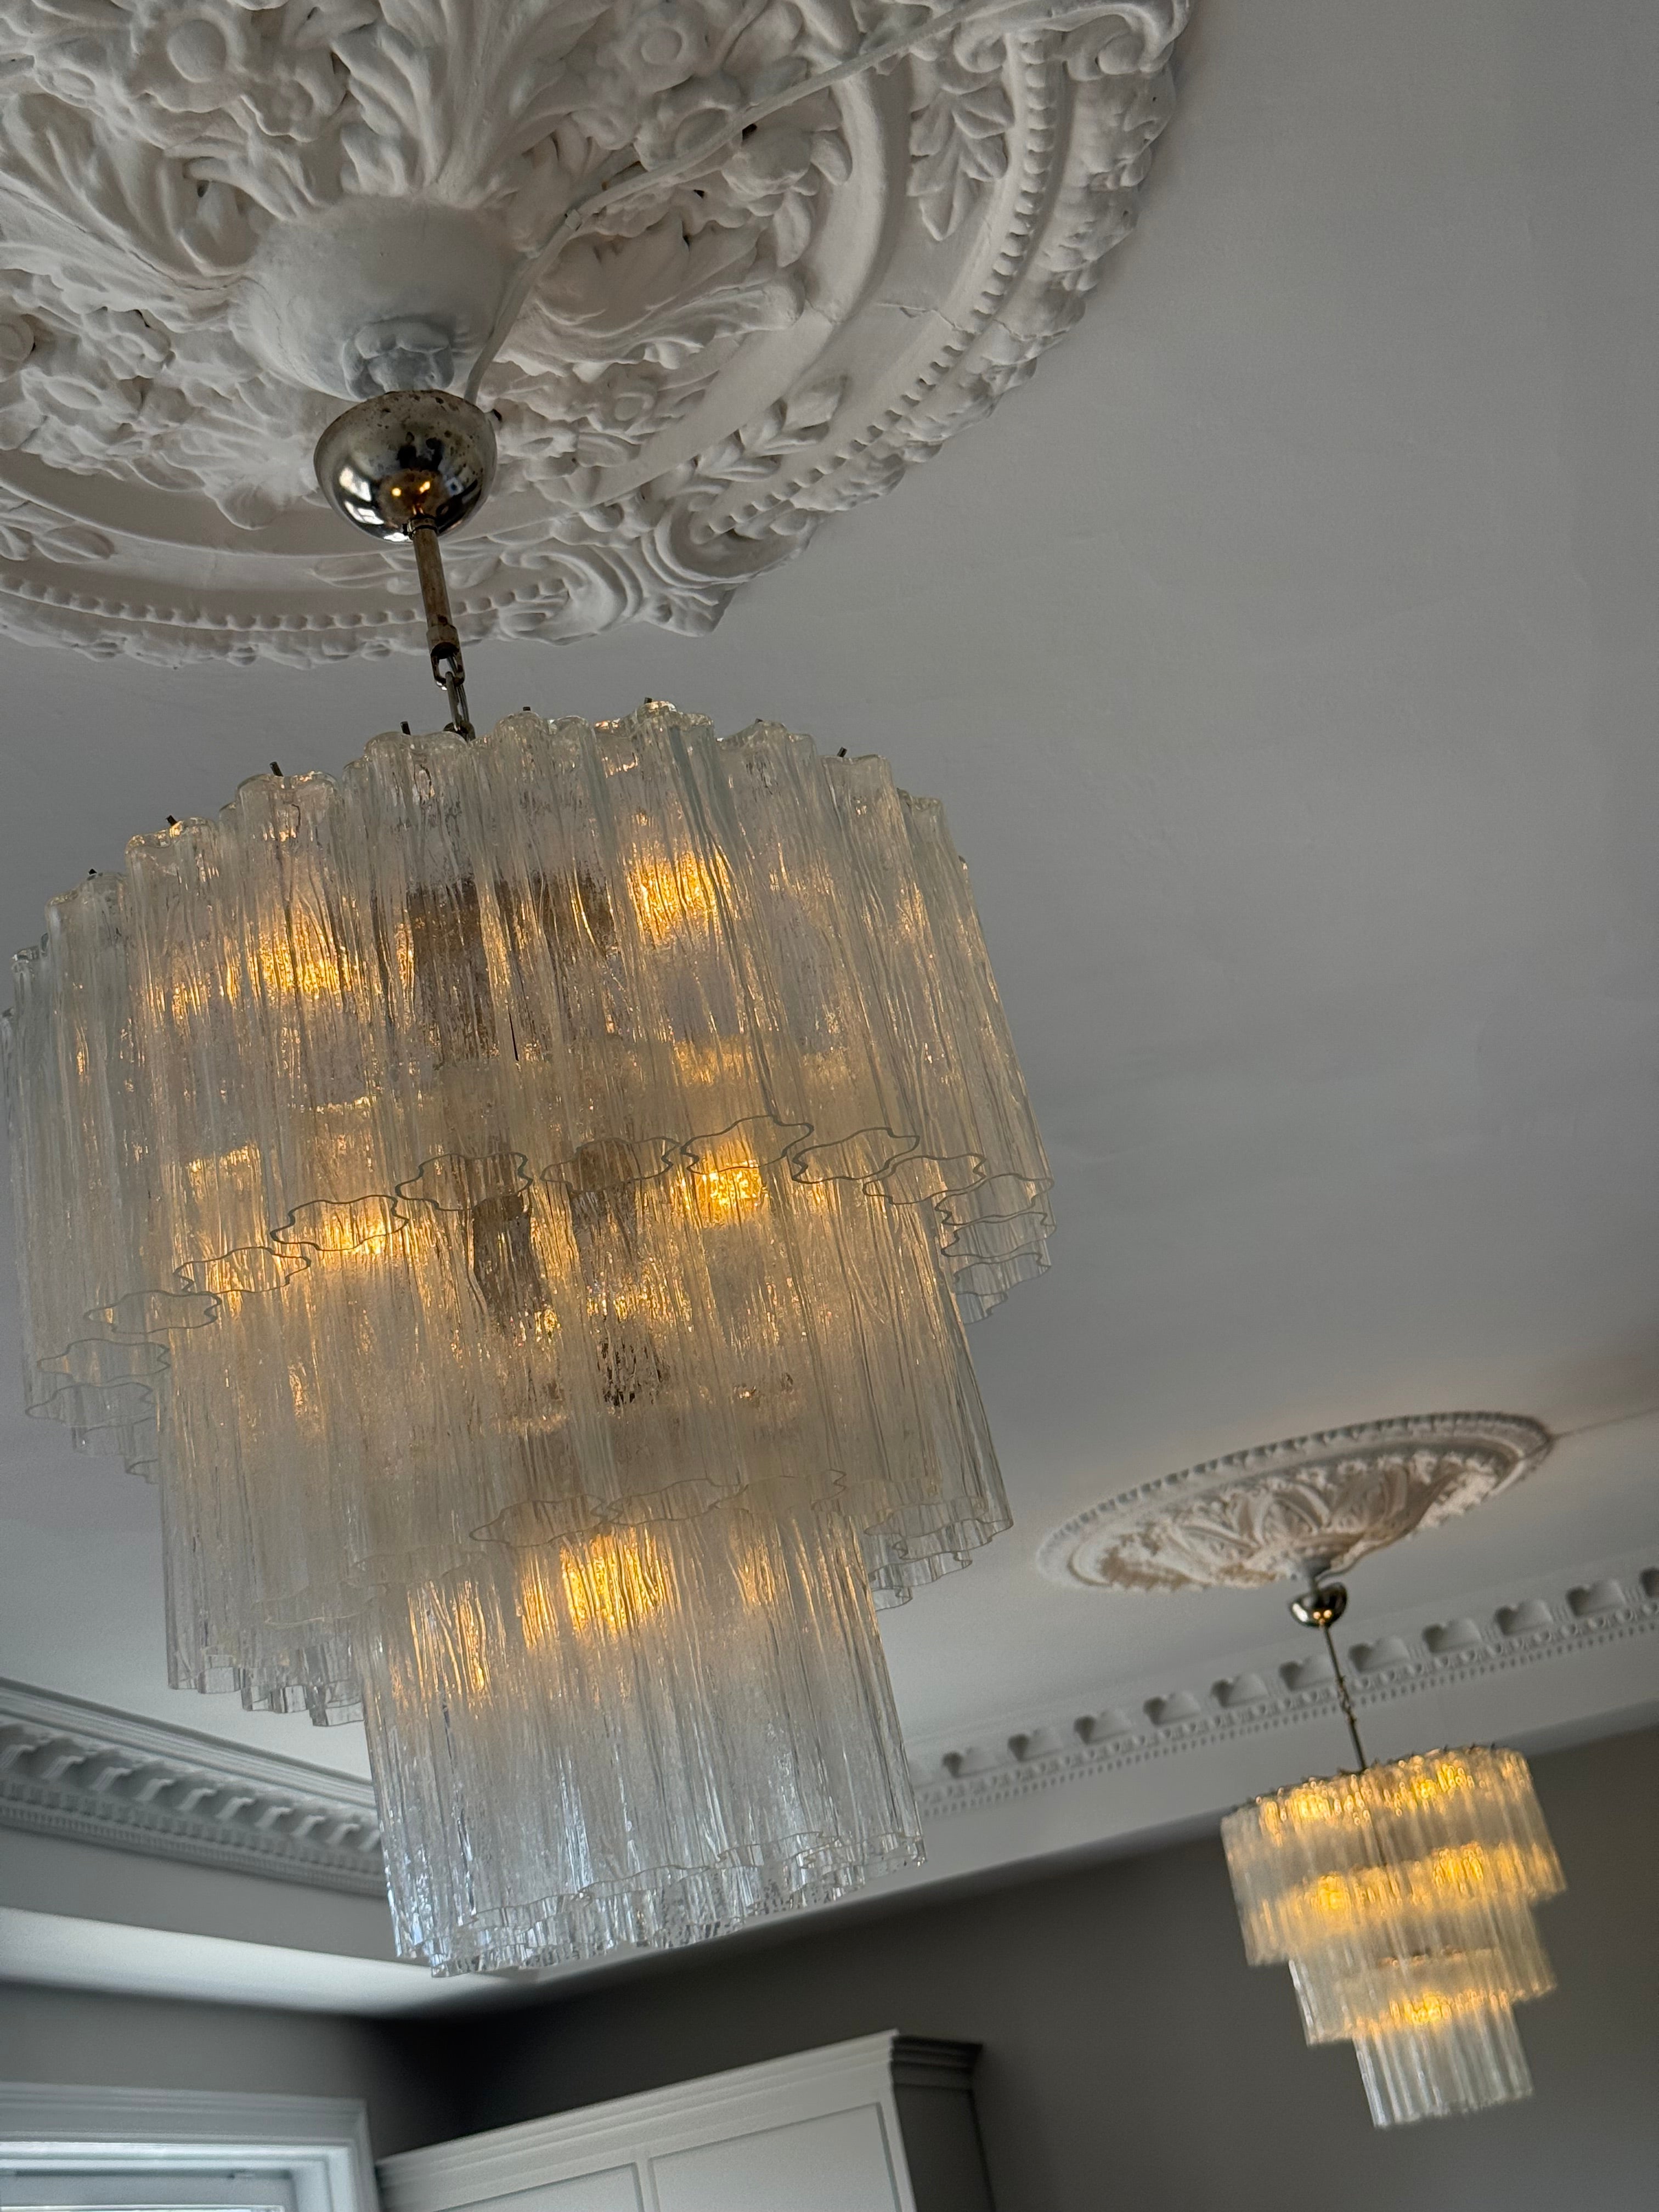
- Smaller Murano chandeliers, such as models with 36 tubes, are often delivered as one finished frame.
- The frame does not require assembly.
- Hang it straight from the ceiling mount and then start putting on the glasses.
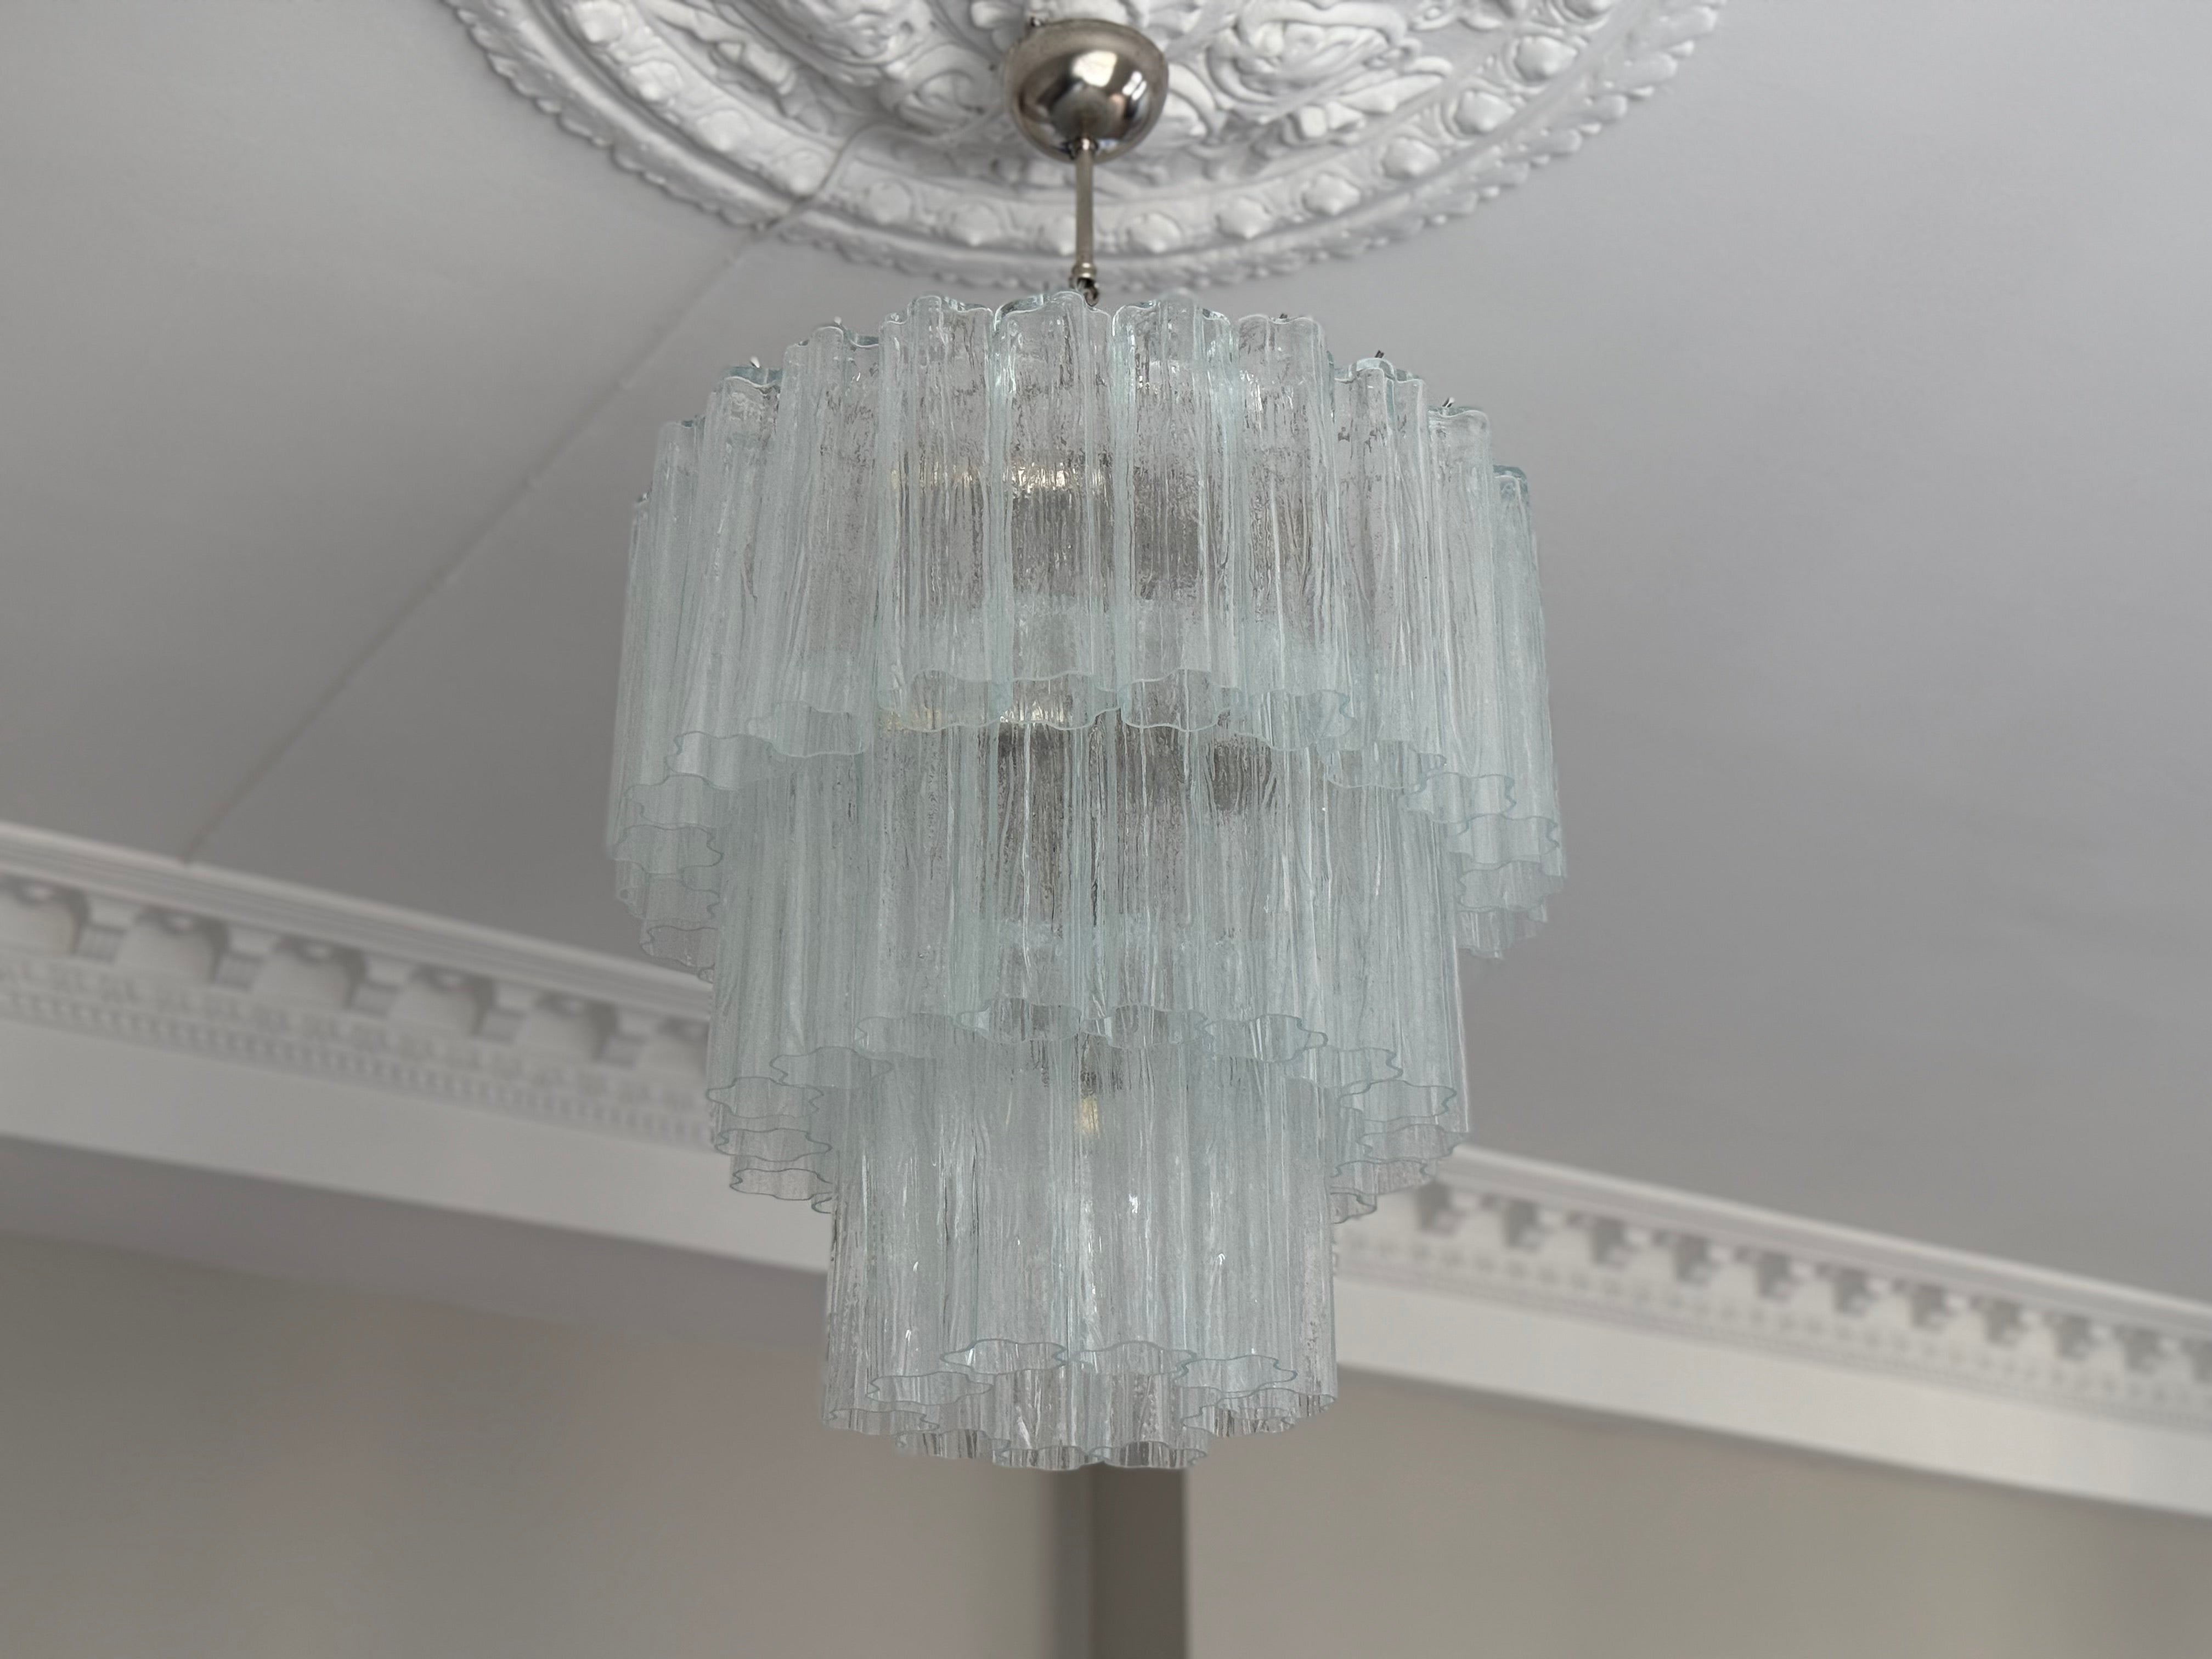
3. Assembly of larger frames
Larger Murano chandeliers are usually delivered in several parts that need to be assembled.
- Use the included rods and nuts to attach the parts.
- A wrench, spanner or pliers makes assembly easier and safer.

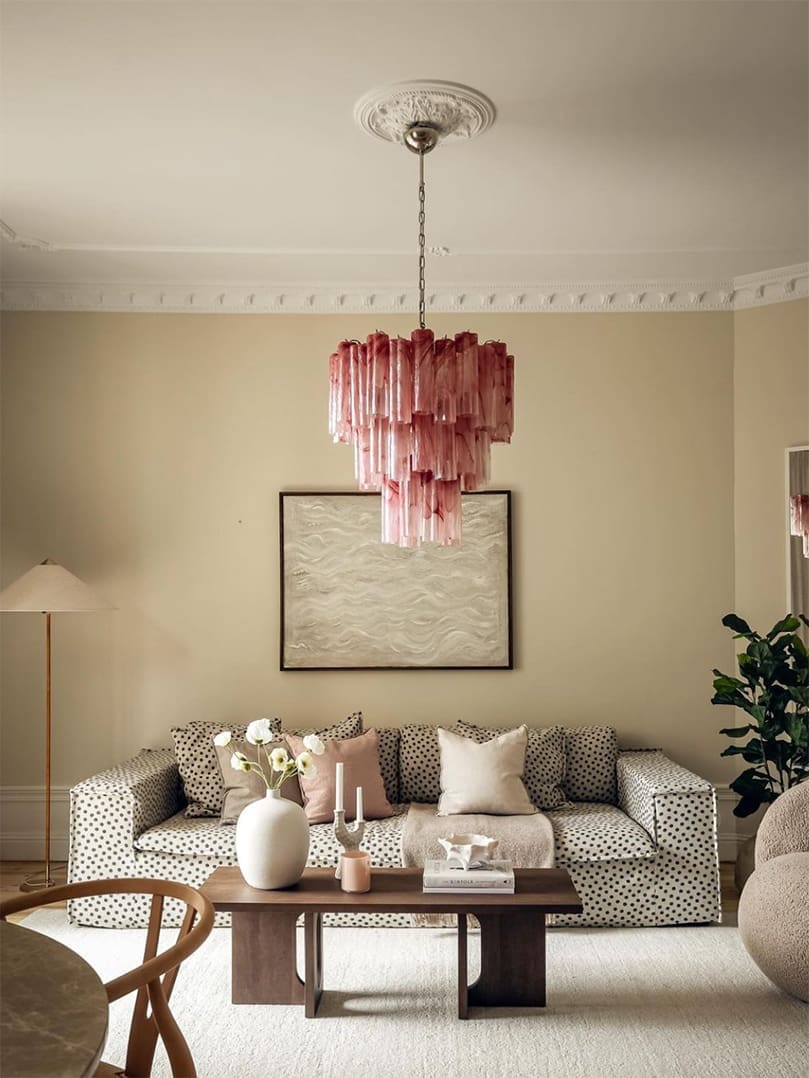
4. Adjusting the chain length
To get the chandelier at the perfect height, you can adjust the chain.
- Open a joint and remove the desired number of joints.
- For easier installation, you can remove the piece of sugar on the end of the cord.
- Use two pliers to open the joints safely and easily.
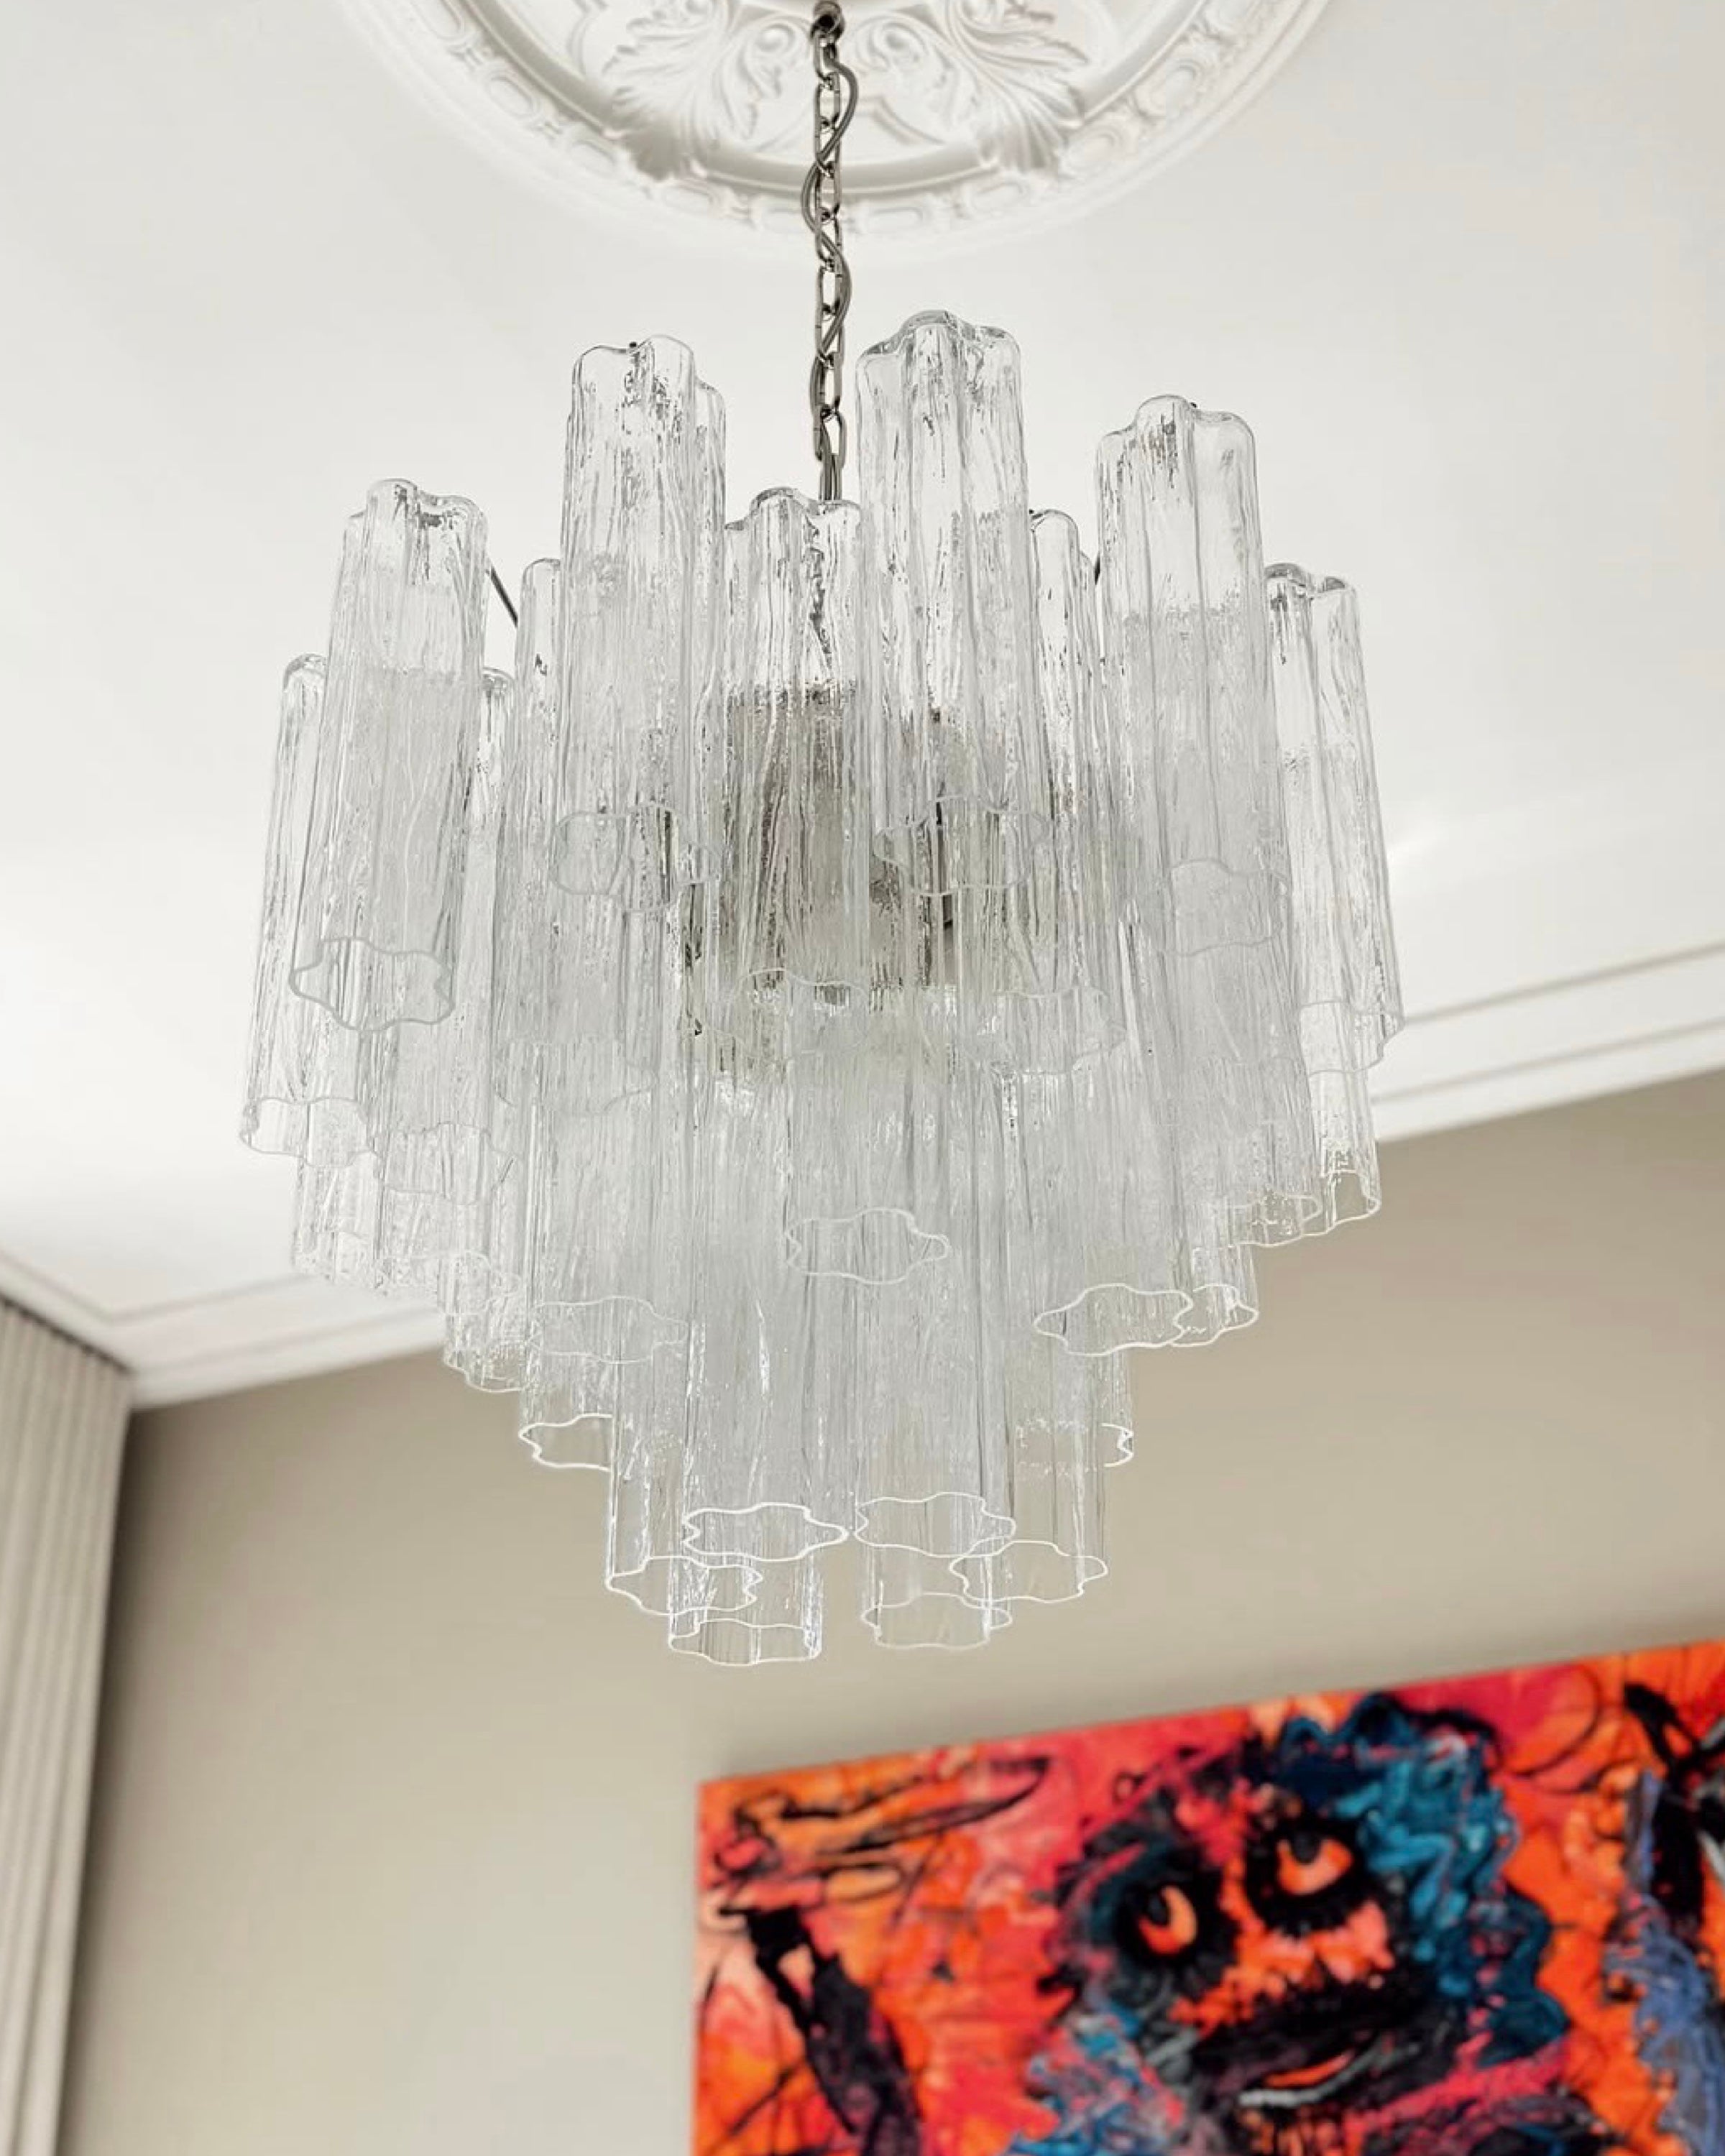
5. Mounting the glasses
Once the frame is in place, you can attach the glass parts.
- Each glass part is easily hooked onto the frame.
- The method is the same regardless of the type of glass